Chapter
1
|
|
Startà SettingàControl PanelàNetwork. or
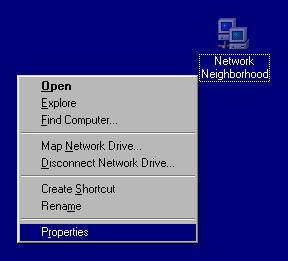
Right click on Network Neighborhood on user computer(desktop).Click on properties.
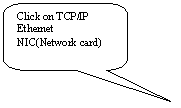
Click on TCP/IP Ethernet NIC
(network interface card)

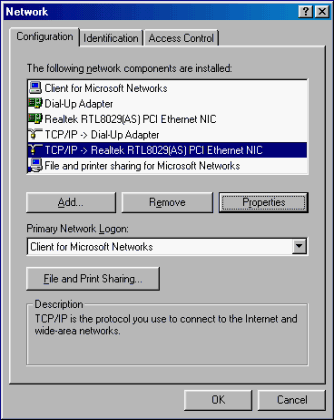
After click on properties button it
shows you TCP/IP properties dialog box.
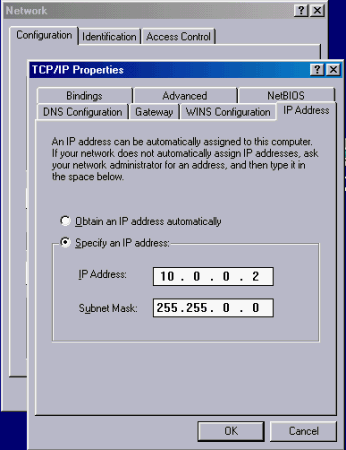
Click on IP Address tab dialog box.
Here you click on specify an IP address enter the IP Address, Subnet
Mask then click on OK button. If IP
Address & Subnet mask


|
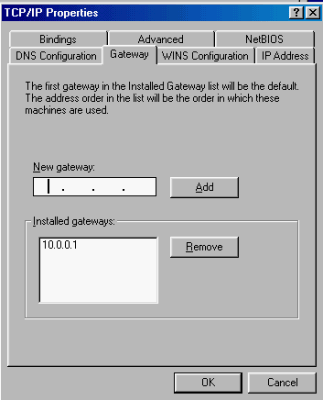
Click on “Gateway” tab button. Enter the gateway address then click on add
button. After Adding gateway address click on OK button.

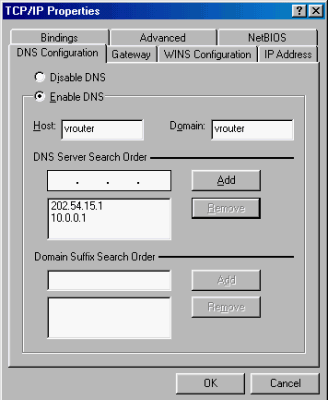
Click on DNS configuration tab
button. Add the domain name server
address. For example: 10.0.0.1 address.
After click on OK button of TCP/IP
and Network Dialog box. It shows you
System Setting Change dialog box where you click on “Yes” button for network
setting change to restart your computer.

Chapter 2
|
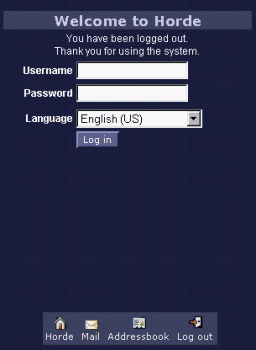
Open Internet explorer and enter the web site address which
you want to browse. If user are not
connected with internet then browser redirect to Smart Guard login page. First you have to enter the login name and
password. After successfully login you
will access internet.

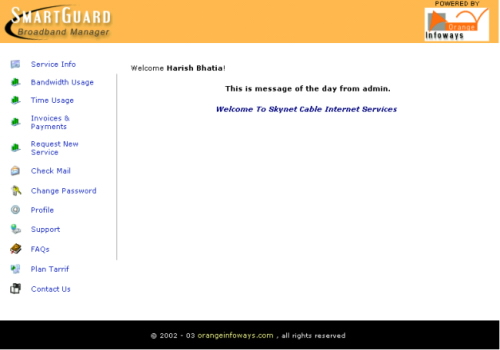
After successfully login Smart Guard Shows Service Info Page
and Side menu has more options Bandwidth Usage, Time Usage, Invoice &
Payments, Request New Services, Check Mail, Change Password, Profile, Support,
FAQ, Plan Traffic
Chapter 3
|
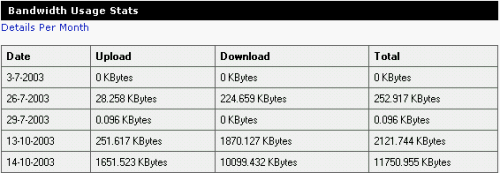
Click on
Side menu of SmartGuard Bandwidth Usage. Here you can view month wise Bandwidth
report.
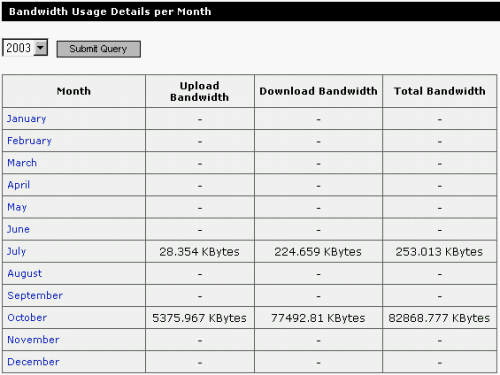
For
Month-wise report Click on Details Per Month. Its
shows you Next Page which Show below:
Bandwidth Usage Per Month
SmartGuard
has facility to view Bandwidth usage of any Year and Month.
Chapter 4
|
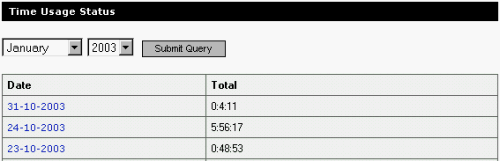
Time Usage shows you details of
user login & logout time. You can
view by Month-wise & Year-wise.
Chapter 5
|
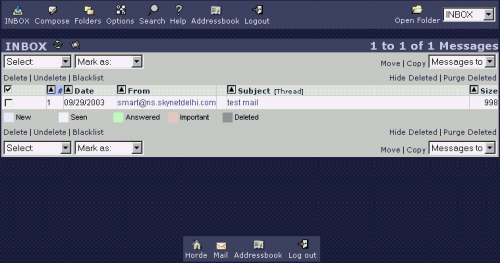
Here User
can check his/her mail. Enter your email username and password then click on
login.
After successfully
login you can check your mail or compose.
Chapter 6
|
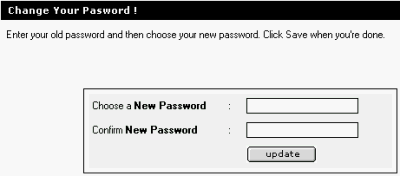
Here user
can change password.
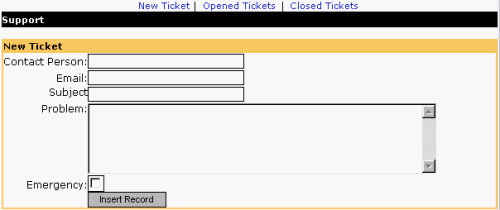
Chapter 7
|
Here user
can create ticket for support.